
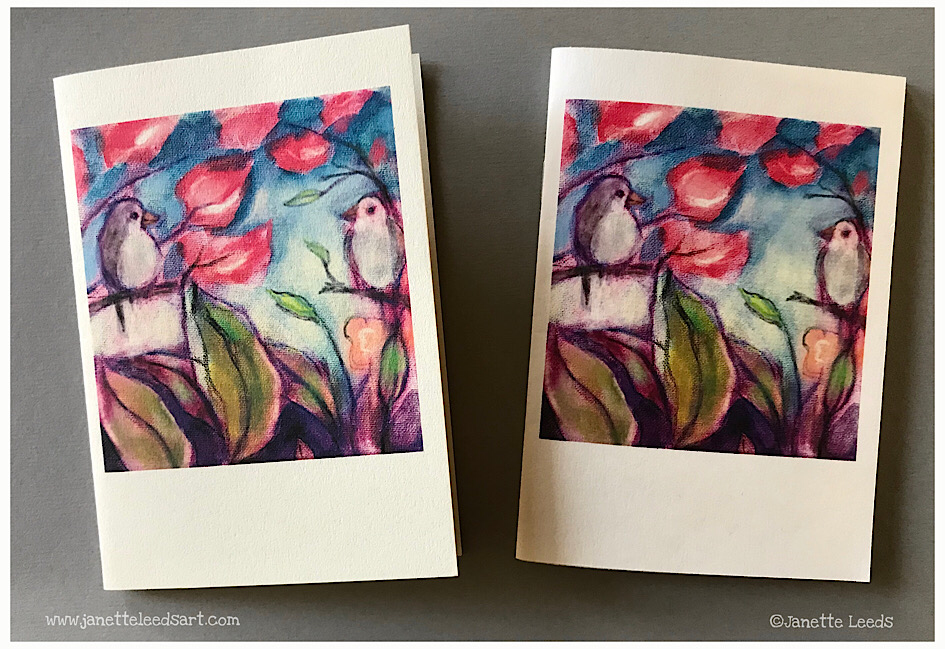
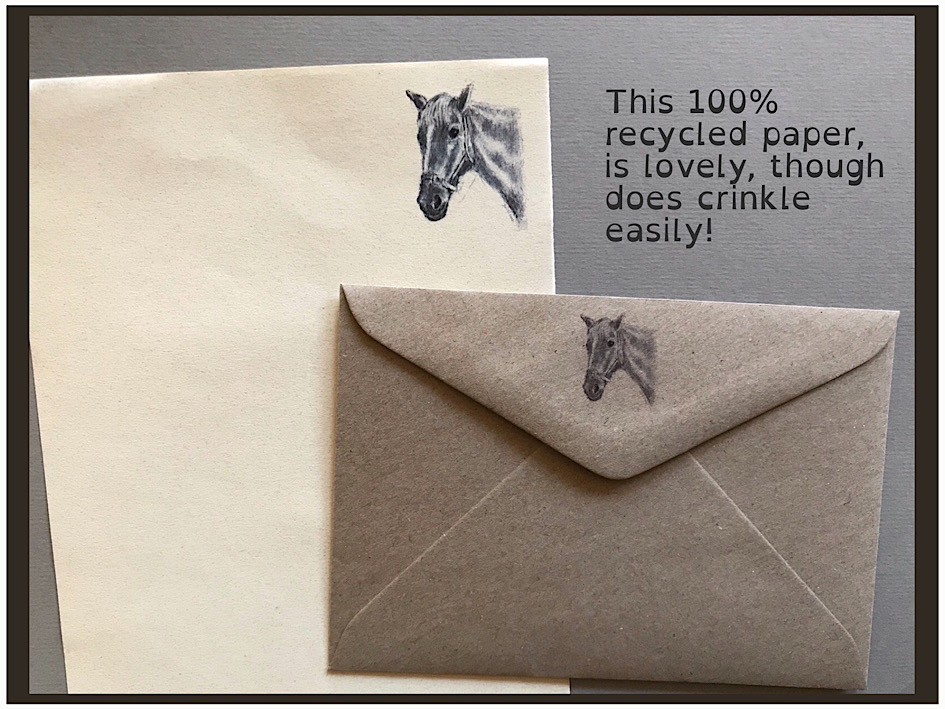
I enjoy all the processes of creating my own prints from my art and have done so for many years, for: cards, stationery sets, broach illustrations; to make my handmade illustrated books; for framing, or to tack it up on the wall.. and just for fun!
At first, I had a colour copier/printer, which did a pretty good job. I also used the copiers at our Community house, office supply store, or school. It was a fairly straightforward operation: lay down the drawing/watercolour on the scanner part, make some small colour adjustments, then push start.
Nowadays, the technology available for these activities is outstanding! Though I don’t use a computer, as such: for me, it’s an iPad – with a keyboard attached, a big help – and my Epson (fade resistant, pigment ink) printer, that enables me to continue to make my own prints.
I’ve discovered, by: research, trial and error, and lots of practice, relatively simple ways to make good quality prints of my iPad art.
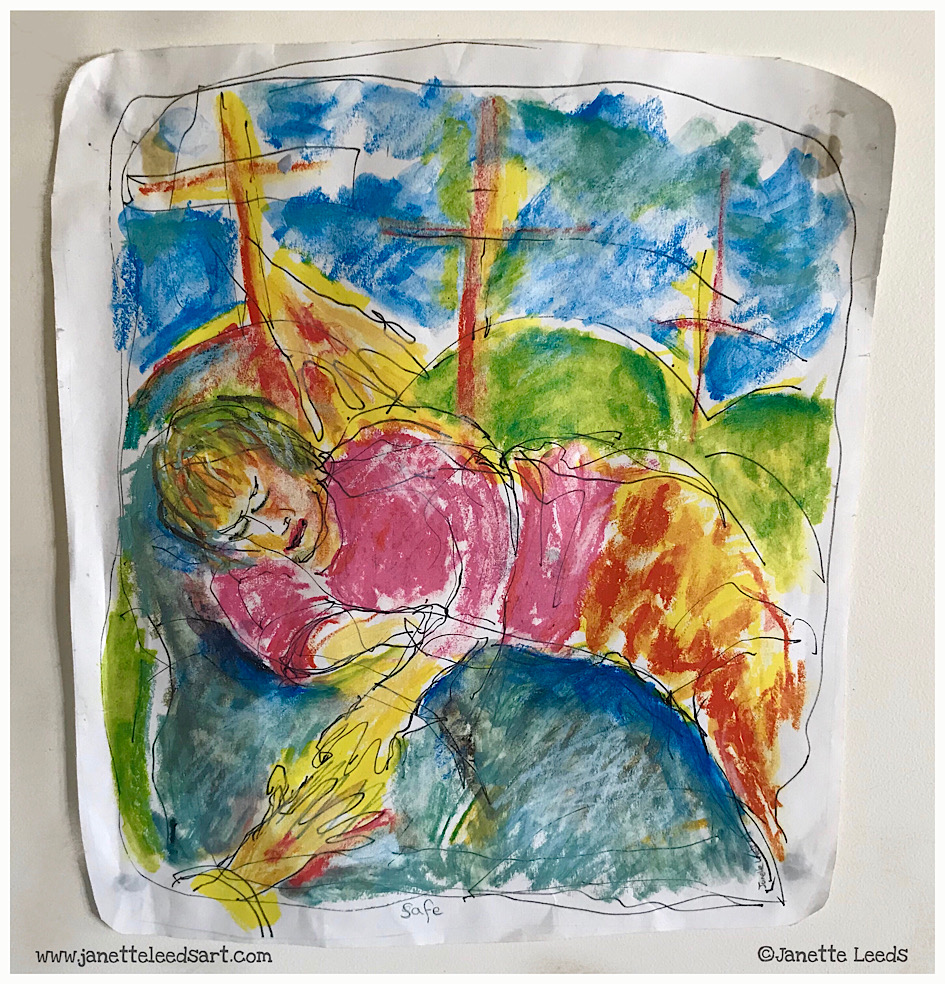
And much of what I’ve learnt, I also apply to making prints of my art in traditional art media. I share about my printing processes, on my page (and in some blog posts) “Printing iPad and Traditional Art”.

I was mostly bringing my: watercolours, pencil drawings, paintings etc…into the iPad by using the “Scanner Pro” app, but it’s been glitchy lately, so I’m now using the iPad camera.
Here’s a link, to some posts where I’ve used the “Scanner app”.
I’m getting better at editing, which I do in the iPad’s photo section, and along the way I do small artist “proof” prints, till I get the result I want.

A link below to my recent Instagram post of another print example.
Thankful† for all my art opportunities.
Have a great day! Stay safe.


You must be logged in to post a comment.